
|
|
|
|
PLEASE NOTE: THIS CHARGER IS NO LONGER AVAILABLE Modifying the Charger: As supplied, connecting the charger to the battery leaves a lot to be desired. However, adding a custom connector is easy. First you'll need a suitable connector for the battery (all new orders include one connector). Any connector with .1" centers should work (for example, Digikey part number A19470-ND). Get two pieces of wire, each about 8" long. You could cannibalize the wires from the harness supplied with the charger. Solder the wires to the connector, and reinforce with heat shrink and/or electrical tape. Polarity is not important as the charger is capable of switching '+' and '-', just make sure that the wires connect to active leads on the battery connector. Now, let's connect this new wiring harness to the charger.
Step 1: Carefully drill a 1/8" hole above the 2-pin connector. (Some have asked about the 3-pin connector to the right of the 2-pin connector. The 3 pin connector is commonly used on PC sound cards. Pins 1 and 2 of the 3-pin connector are connected to pins 2 and 1 of the 2-pin connector, respectively.)
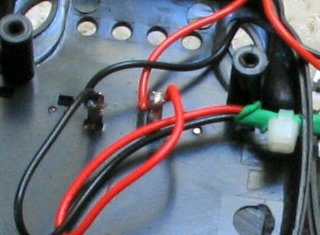
Step 4: Solder your new wires to these posts. It doesn't really matter which wires goes to which post, since the charger has selectable outputs.
A closer view. Notice the strain relief on the wires as they exit the case.
|
|
|
© 2005-2020 BigRedBee, LLC. All rights reserved. |
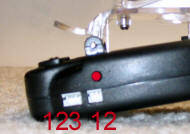
 Step
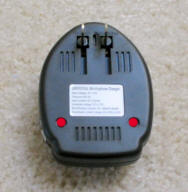
2: Remove these two screws.
Step
2: Remove these two screws.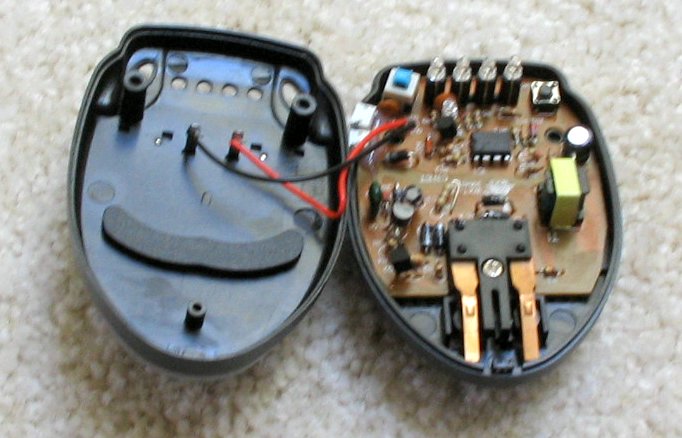 Step
3: Carefully separate the two halves. Don't lose the little buttons!
Figuring out which one goes where, and the orientation, can take a little time
when putting it back together. It's pretty obvious when you've got it right.
Step
3: Carefully separate the two halves. Don't lose the little buttons!
Figuring out which one goes where, and the orientation, can take a little time
when putting it back together. It's pretty obvious when you've got it right.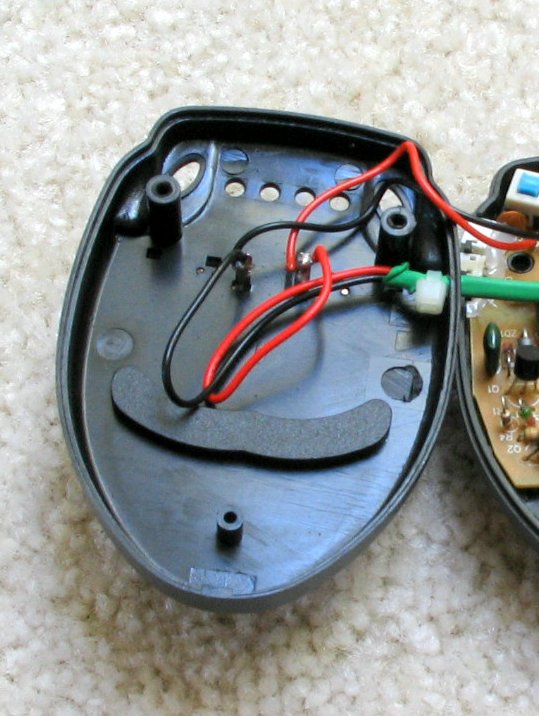
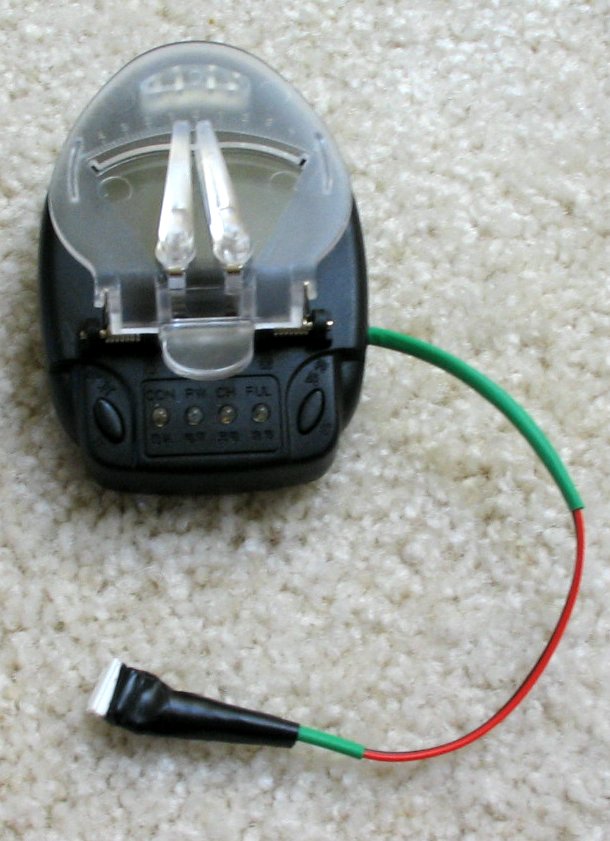 The
completed charger, all put back together.
The
completed charger, all put back together.